
High-end firewall appliances such as those from Watchguard offer the facility to automatically block remote systems based on their behavior such as port scanning. An intruder will often start their intrusion with some reconnaissance which includes scanning the remote system for open ports to learn what services are available.
pfSense has the ability to detect and block intrusion attempts. This article walks you through the process. We’ll specifically configure the pfSense to detect port scans and block the source.
You will need a free “enabling” code from “snort.org”. You’ll need to sign-up for a Snort account at “https://snort.org/users/sign_up”. Confirm your account using the confirmation email they send to you, then sign in at “https://snort.org/users/sign_in”. When logged in, click your Username at the top/right of the page and then click the “Oinkcode” button. Make a note of your “Oinkcode” because we’ll use it later in this tutorial.
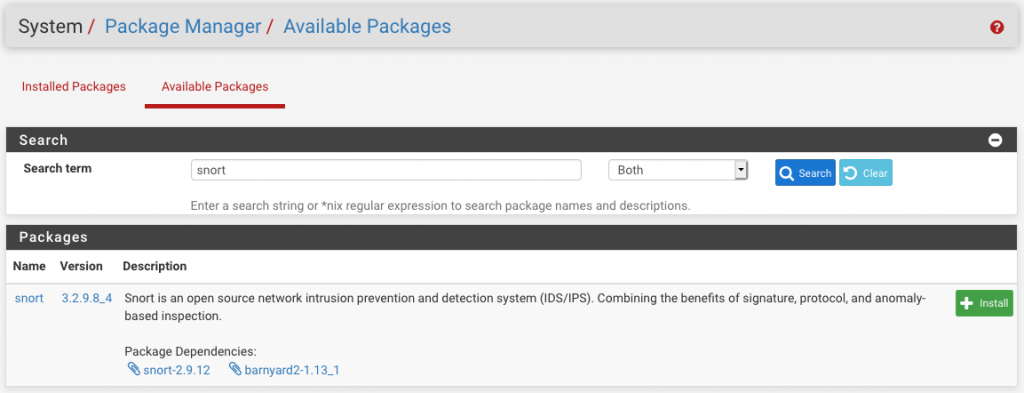
Start by logging into your pfSense system. Navigate to System, Package Manager. Click the “Available Packages” tab. Search for “snort”. When the result appears, click the “Install” button to start installing Snort.
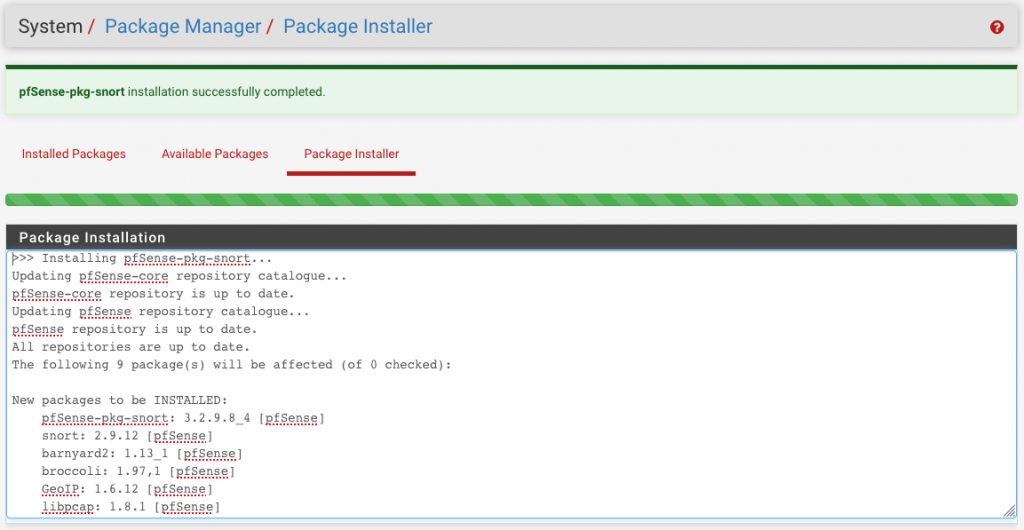
When the installation is finished, you will see the following green notice.
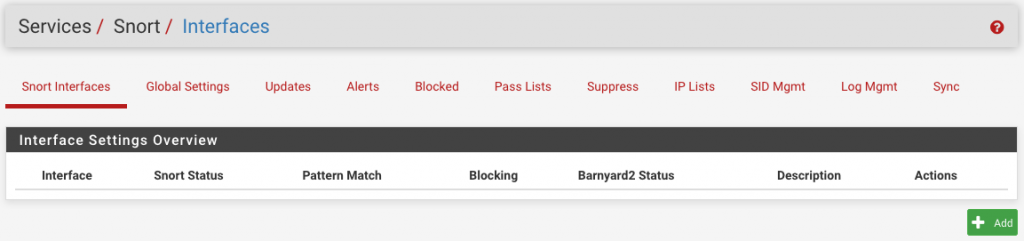
With Snort installed, navigate to Services, Snort to see the following:
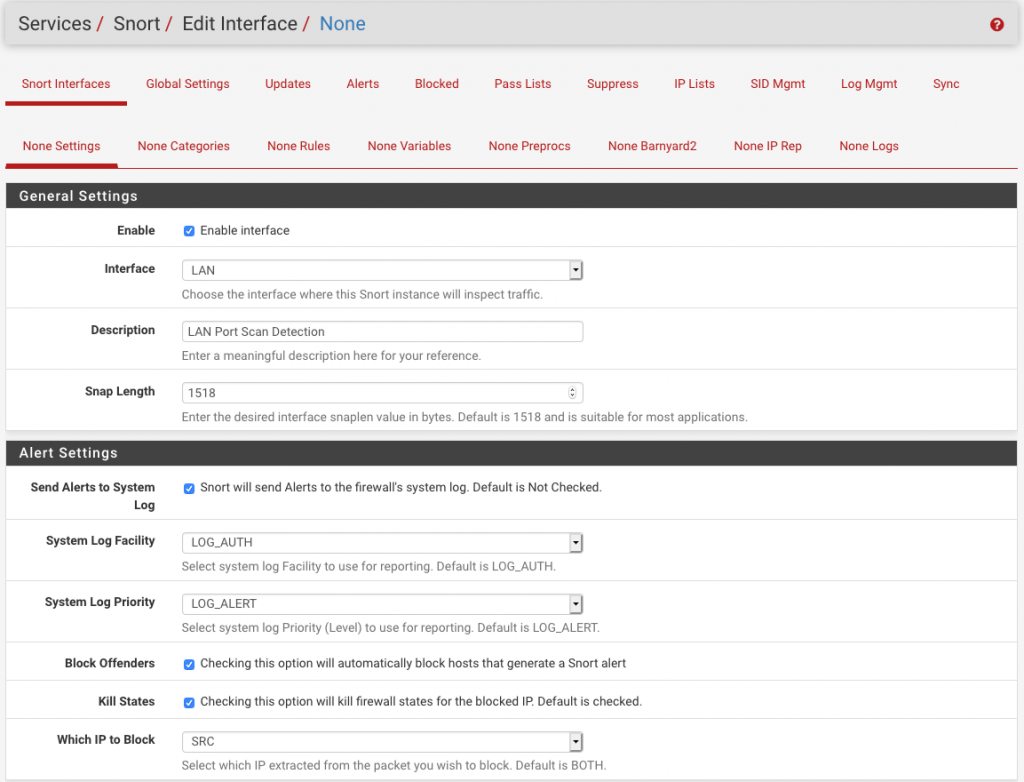
Click the “Add” button. Start by setting the general settings. The following shows my settings for my test environment (my lab). Notice that I’ve selected the “LAN” interface. You’d normally select the “WAN” if you were trying to detect and block external intrusion attempts but again, this is a test environment.
Important point: Notice in the screenshot below that i have checked the box to “block” offenders. Consider running it a while and monitoring the “Alert” logs to make sure you’re ont going to block legitimate traffic and possibly impact on business connectivity.
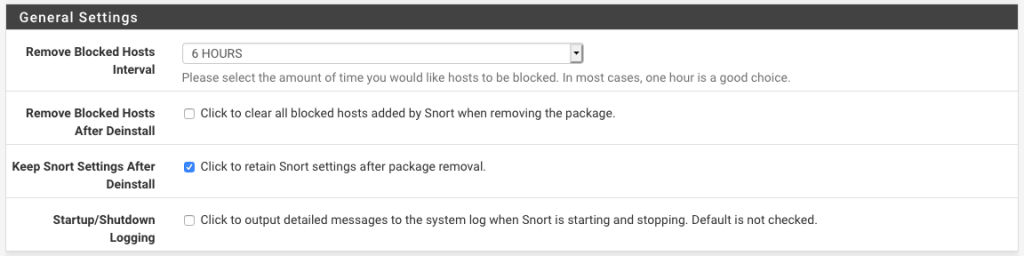
Navigate to Services, Snort and click the “Global Settings” tab. This is where you enter your “Oinkcode” code. The following are my settings:
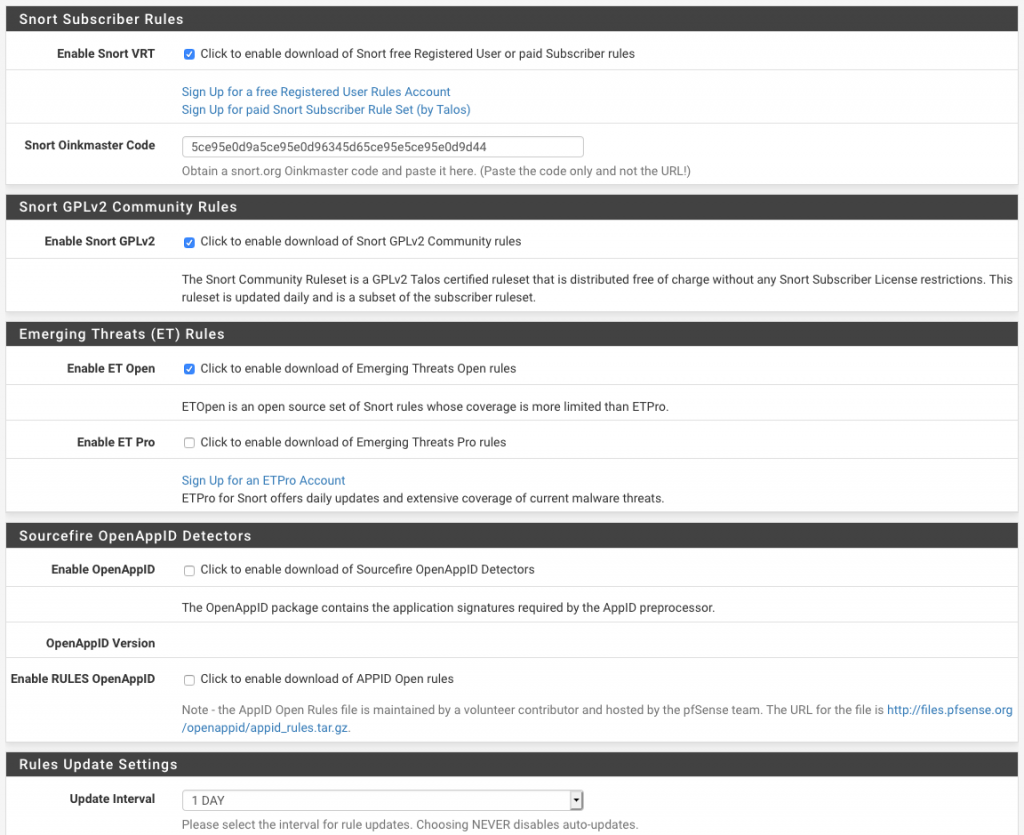
Click the “Save” button at the bottom of the page to apply your settings.
Navigate to Services, Snort and click the “Updates” tab. Click the “Update Rules” button to get the latest rules.
Navigate to Services, Snort and click the “Interfaces” tab. Click the “Play” icon to start the intrusion detection service (IDS).
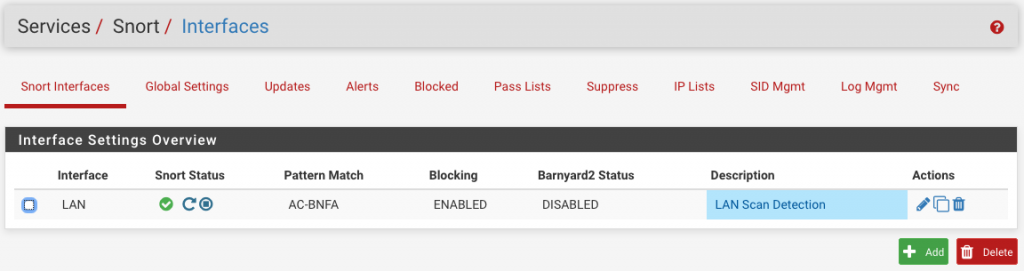
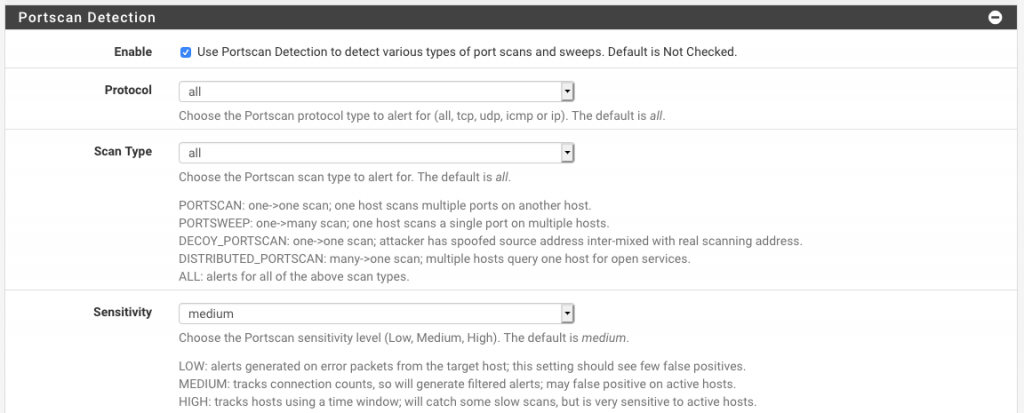
Navigate to Services, Snort and click the “Edit” icon next to the Interface you’ve just configured. Click the “LAN Preprocs” tab. Expand the “Port Scan Detection” section and enable the first option. My settings are as follows:
At this point your pfSense should be detecting and blocking remote systems based in them port scanning your firewall. You can see the alerts and any blocked IP’s using the following features:
See alerts: Navigate to Services, Snort and click the “Alerts” tab. Select the Interface of interest.
See blocked IP’s: Navigate to Services, Snort and click the “Blocked” tab.

Nice work.