
This article demonstrates how to configure HAProxy to use LetsEncrypt to automatically manage certificates ensuring that those on the Internet accessing servers behind your HAProxy are protected with SSL security.
Here’s some important points before we get started:
- We’re using a Netgate pfSense firewall appliance in this example but pfSense in any form will work.
- We have a single server behind the HAProxy but you could have as many as you like. If you have more than one, you’d need to consider how you want to balance traffic between them. That’s a topic not covered here as we’ve only got the one web server to consider.
- You must have access to manage the DNS zone that your web server’s name resides in. For example, if you website is “www.example.com”, you will need to have access to manage the “example.com” zone. Read point 4 below to find out why we’re using DNS in this tutorial.
- LetsEncrypt doesn’t just hand out certificates to anyone who asks for any domain they ask for. You must be able to prove you’re the owner of a domain. There are two ways to do this (generally speaking); a) for LetsEncrypt to communicate back to the LetsEncrypt client (in this case it would be HAProxy) using the publicly available DNS records, or b) to check for records within a DNS zone which, if found, would prove that you have access to manage the zone. We’re using option (b) here as it’s the simplest in my opinion.
The basic flow is: A web browser on the Internet wants to access a website. The browser sends a request to the IP address as found in DNS (such as www.example.com) which the HAProxy will answer for. The HAProxy operates at later 7 in this case (like a normal web proxy does) and terminates the session there. The HAProxy establishes a connection to the internal web server and becomes the proxy between the browser and web server. It all works the same way for HTTP and HTTPS sessions (I use the word session loosely).
LetsEncrypt has two phases; to establish trust with the client (HAProxy in this case), and to get new certificates when the old one is about to expire and/or to get a certificate in the first place. The trust phases works like this:
- You request HAProxy to generate a key and send the required identity information to LetsEncrypt based on your key.
- LetsEncrypt creates an account for you and replies with some validation information as noted in item 3 below.
- LetsEncrypt asks you (as the administrator) to create and populate a new TXT record in your desired DNS zone.
- You create the TXT record and ask LetsEncrypt to validate it.
- LetsEncrypt validates the TXT record and now knows that you’re account is associates with the given domain.
That’s enough theory, let’s get started.
First we need to configure LetsEncrypt. pfSense makes this simple. Install the “acme” plugin:

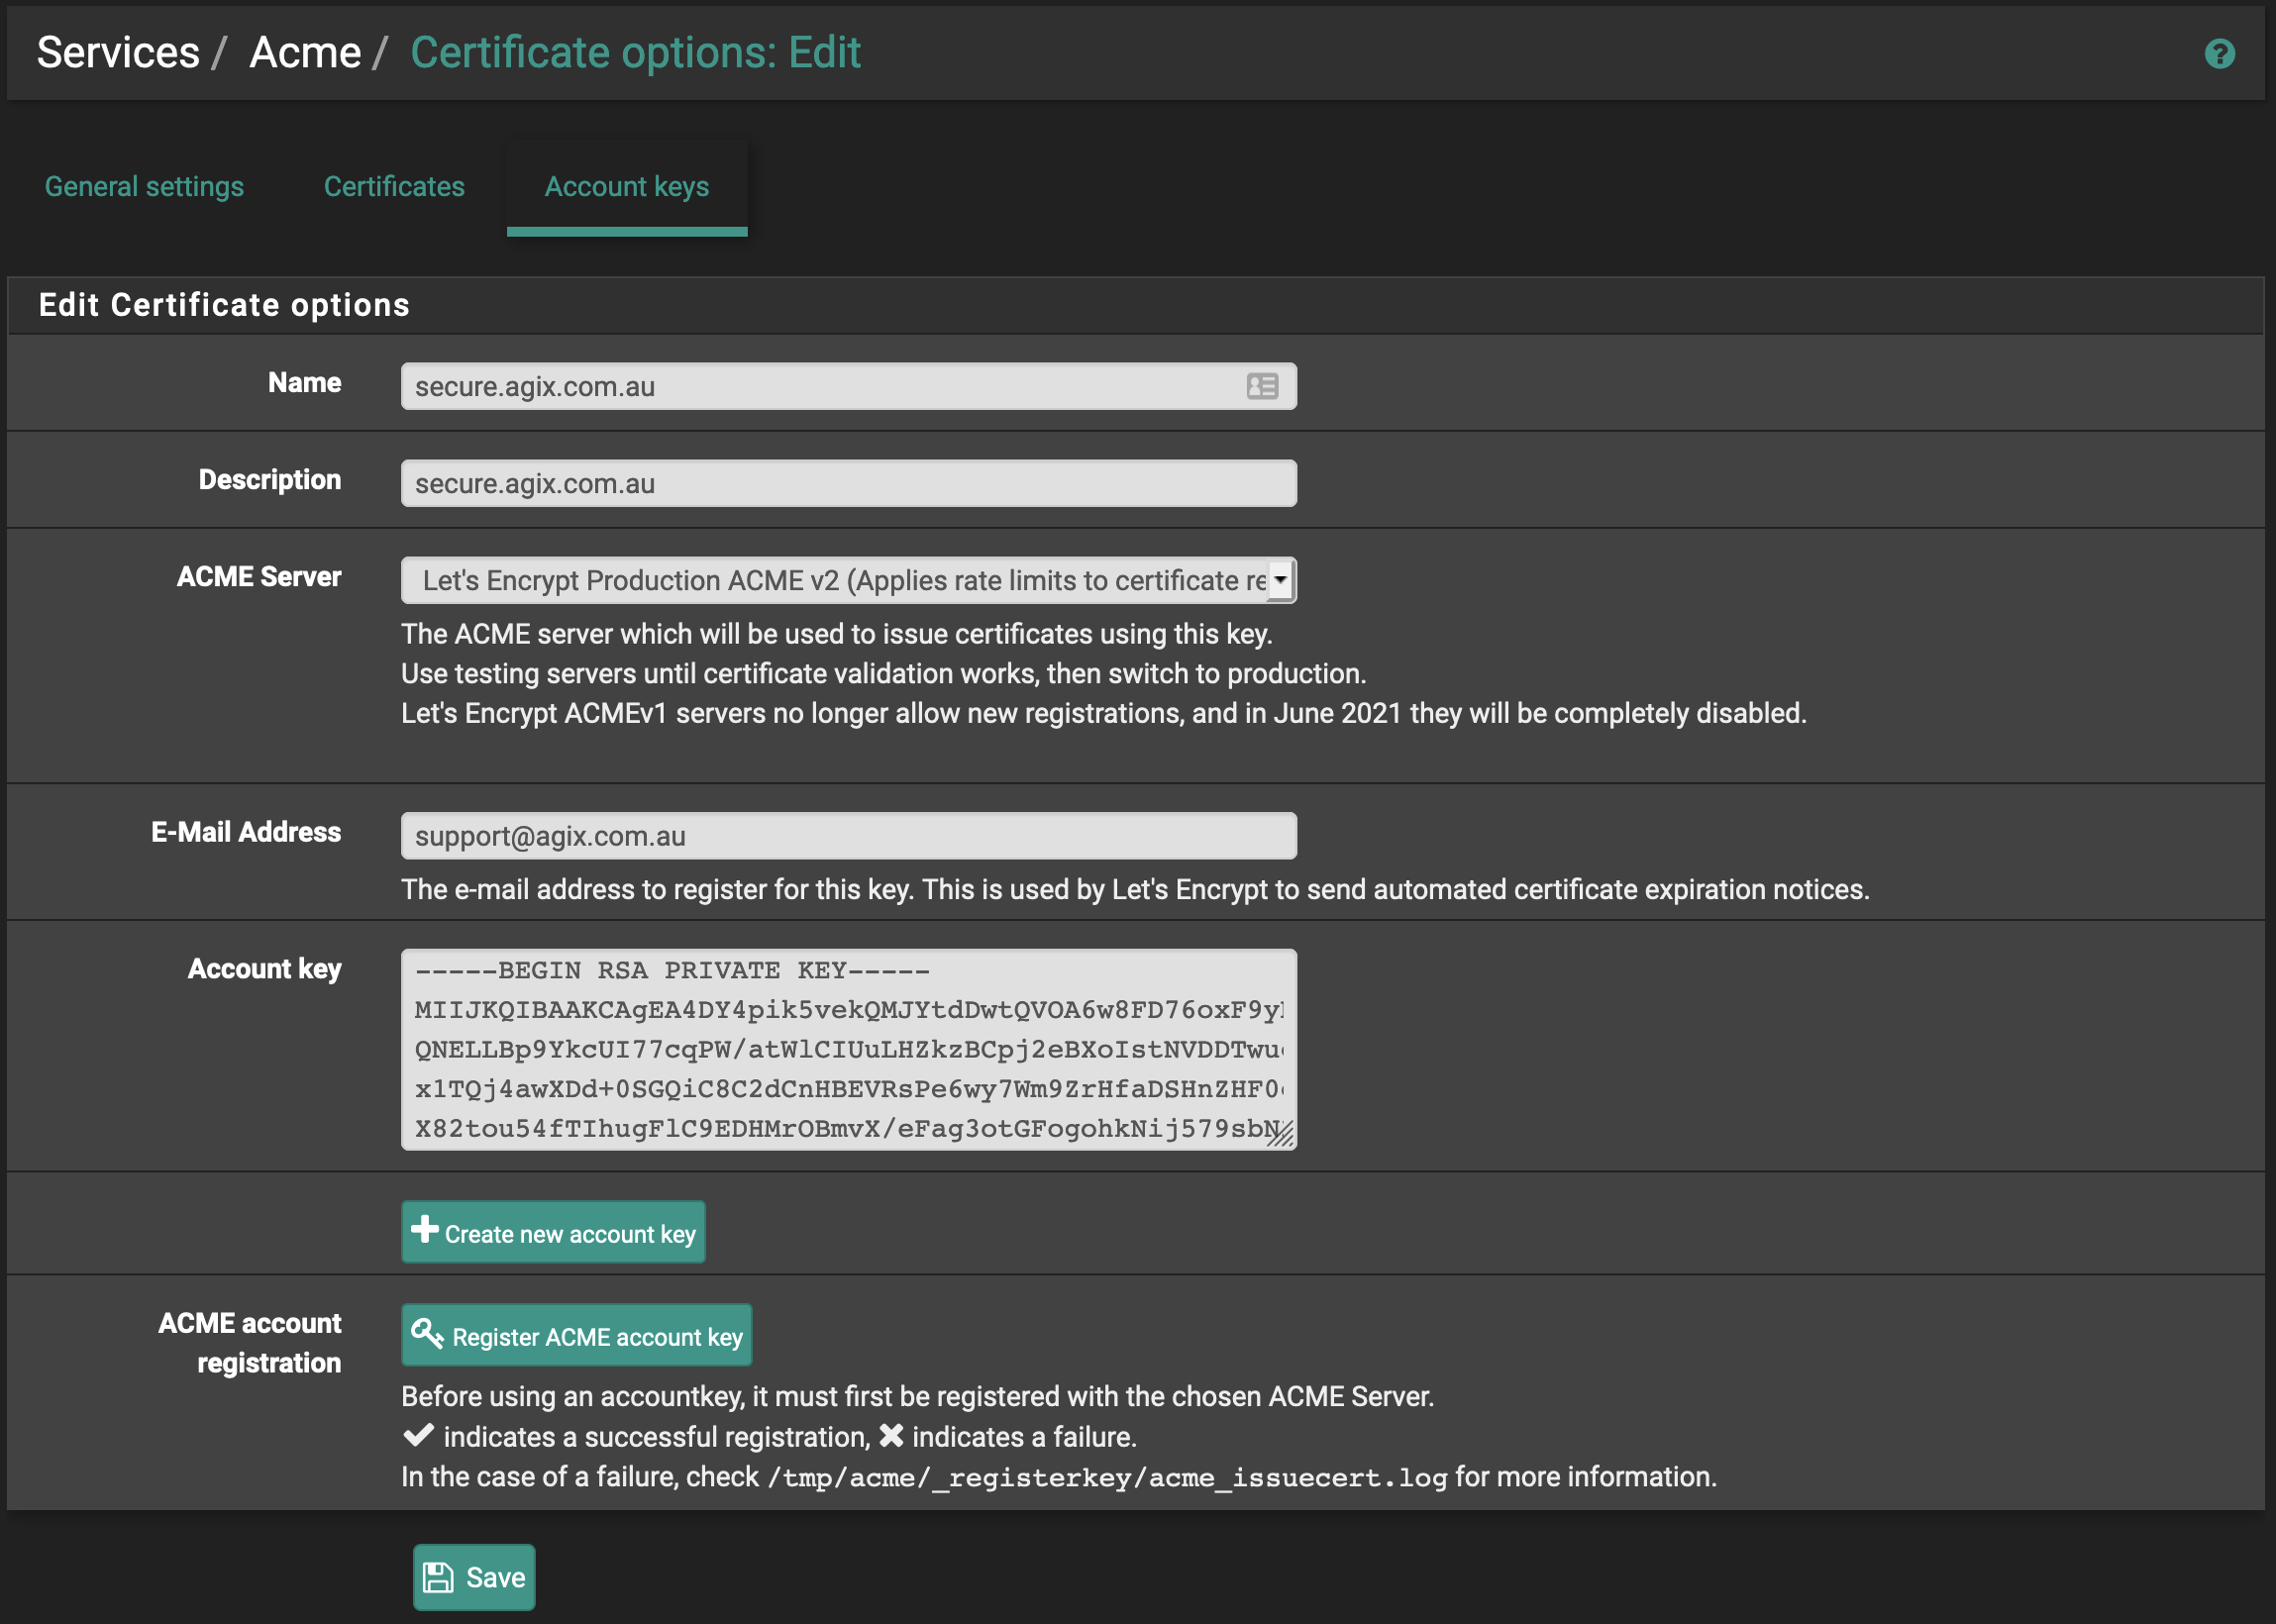
Once installed, go to “Services”, “Acme”, and go to the “Account Keys” tab.
Complete the form as you can see here. However, change “secure.agix.com.au” and email address to whatever works for you. Select the “ACME Server” which I’ve set as “Production” but you might want to use the “Test” server. Also click the “Create new account key”, “Register ACME account key” and click the “Save” button.
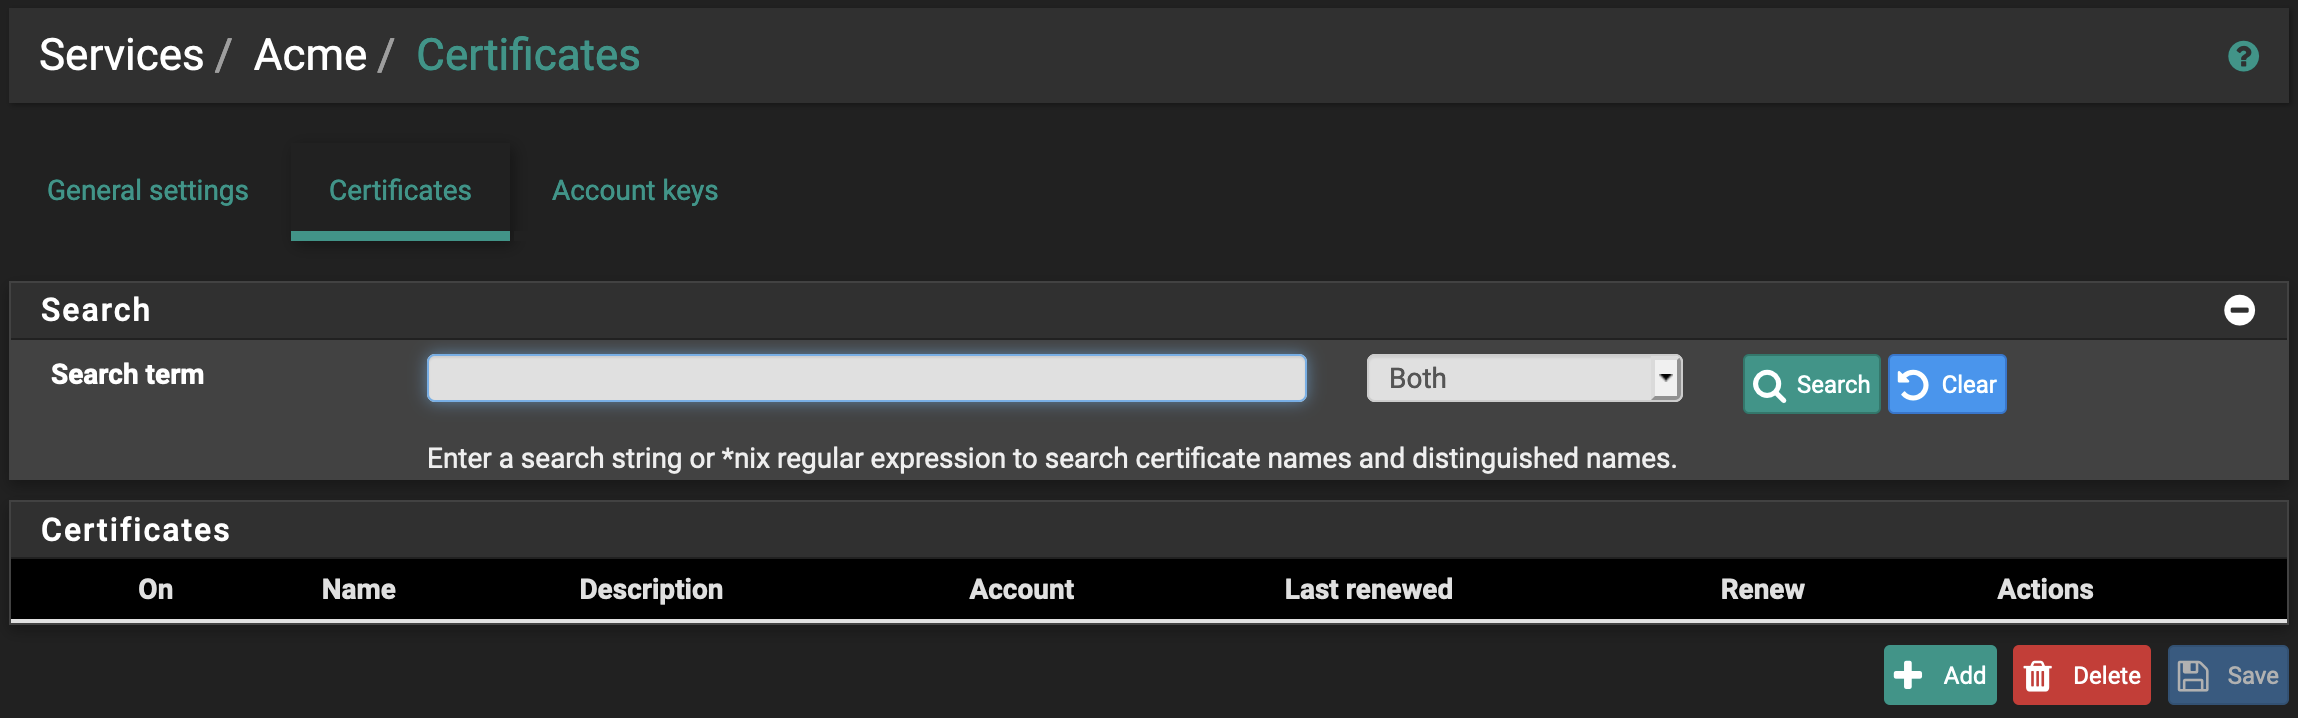
Click on the “Certificates” tab. Click the “Add” button.
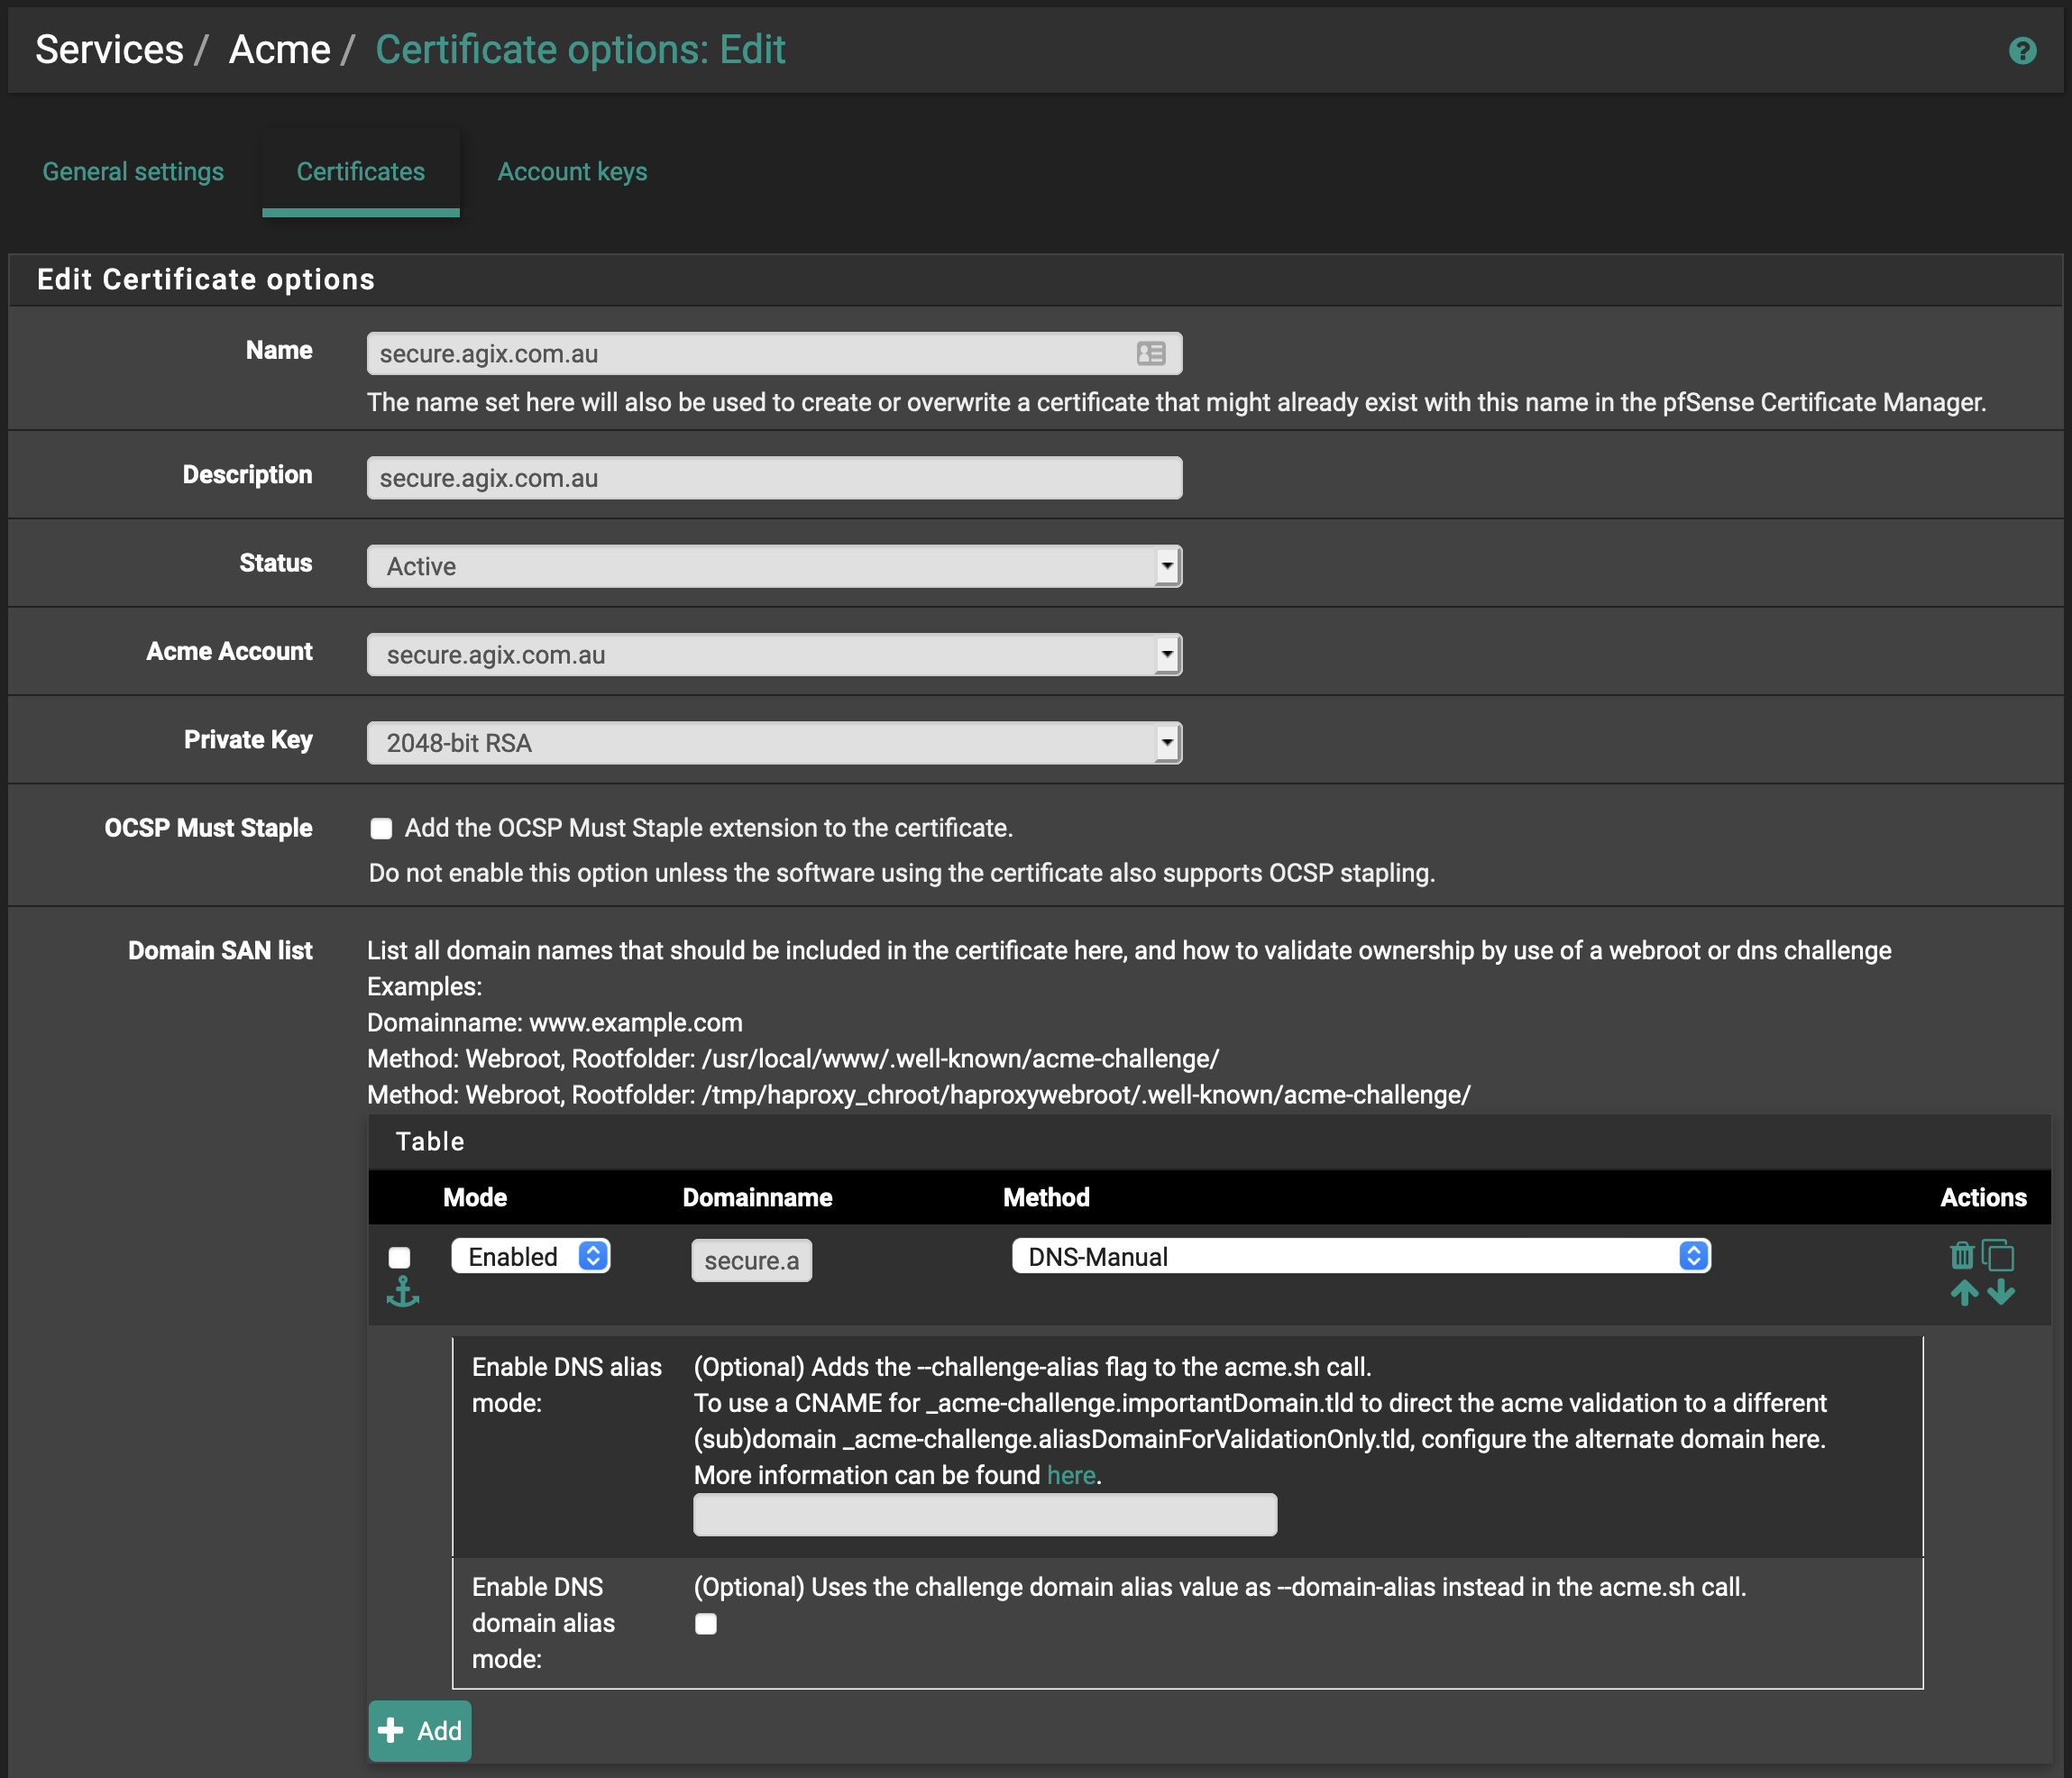
Complete the form as you can see here. Again, replace “agix.com.au” with your domain. Notice the “Domainname” field in the screenshot below. It’s small field. You need to put the FQDN in that field, such as “secure.agix.com.au” in my example. Also notice the “Method” is set to “DNS-Manual”. This method works before in my situation but you might find a better method so search through the list. Later, we’ll need to add a DNS TXT record to the appropriate domain, but that’s a little later on.
Once you complete the form below, click the “Save” button.
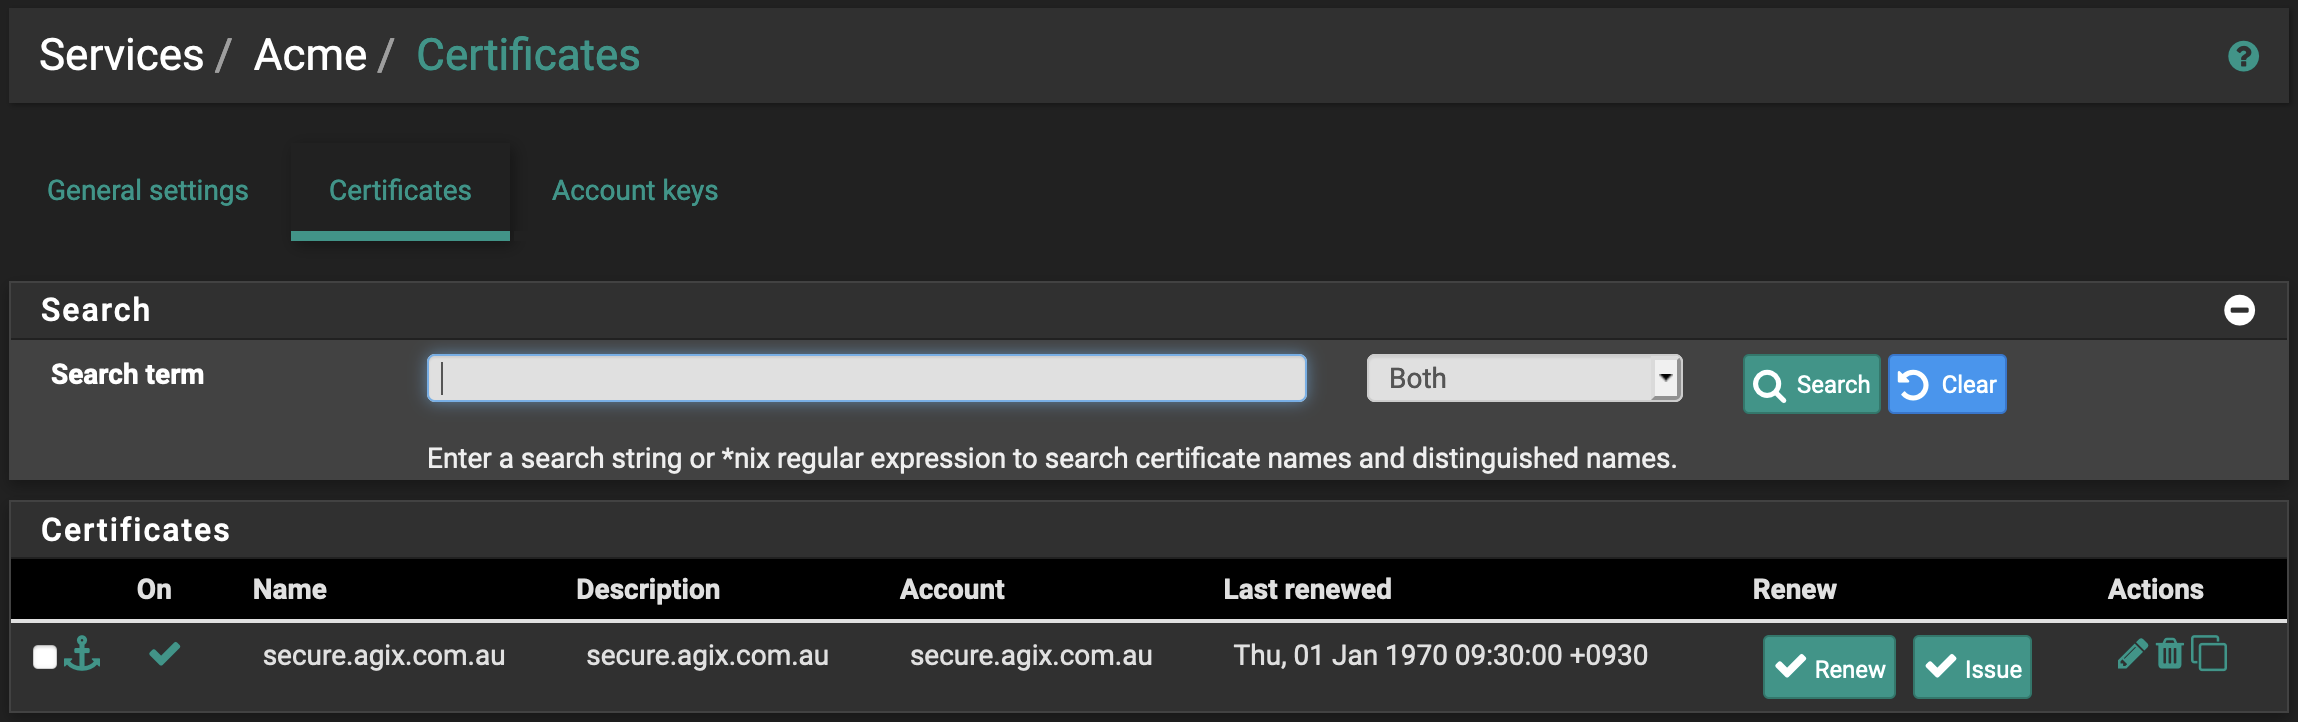
You’ll see your list of certificates (only one at this stage, I’m guessing). Click the “Issue” button:
You’ll see plenty of “green” content appear on the page like this:
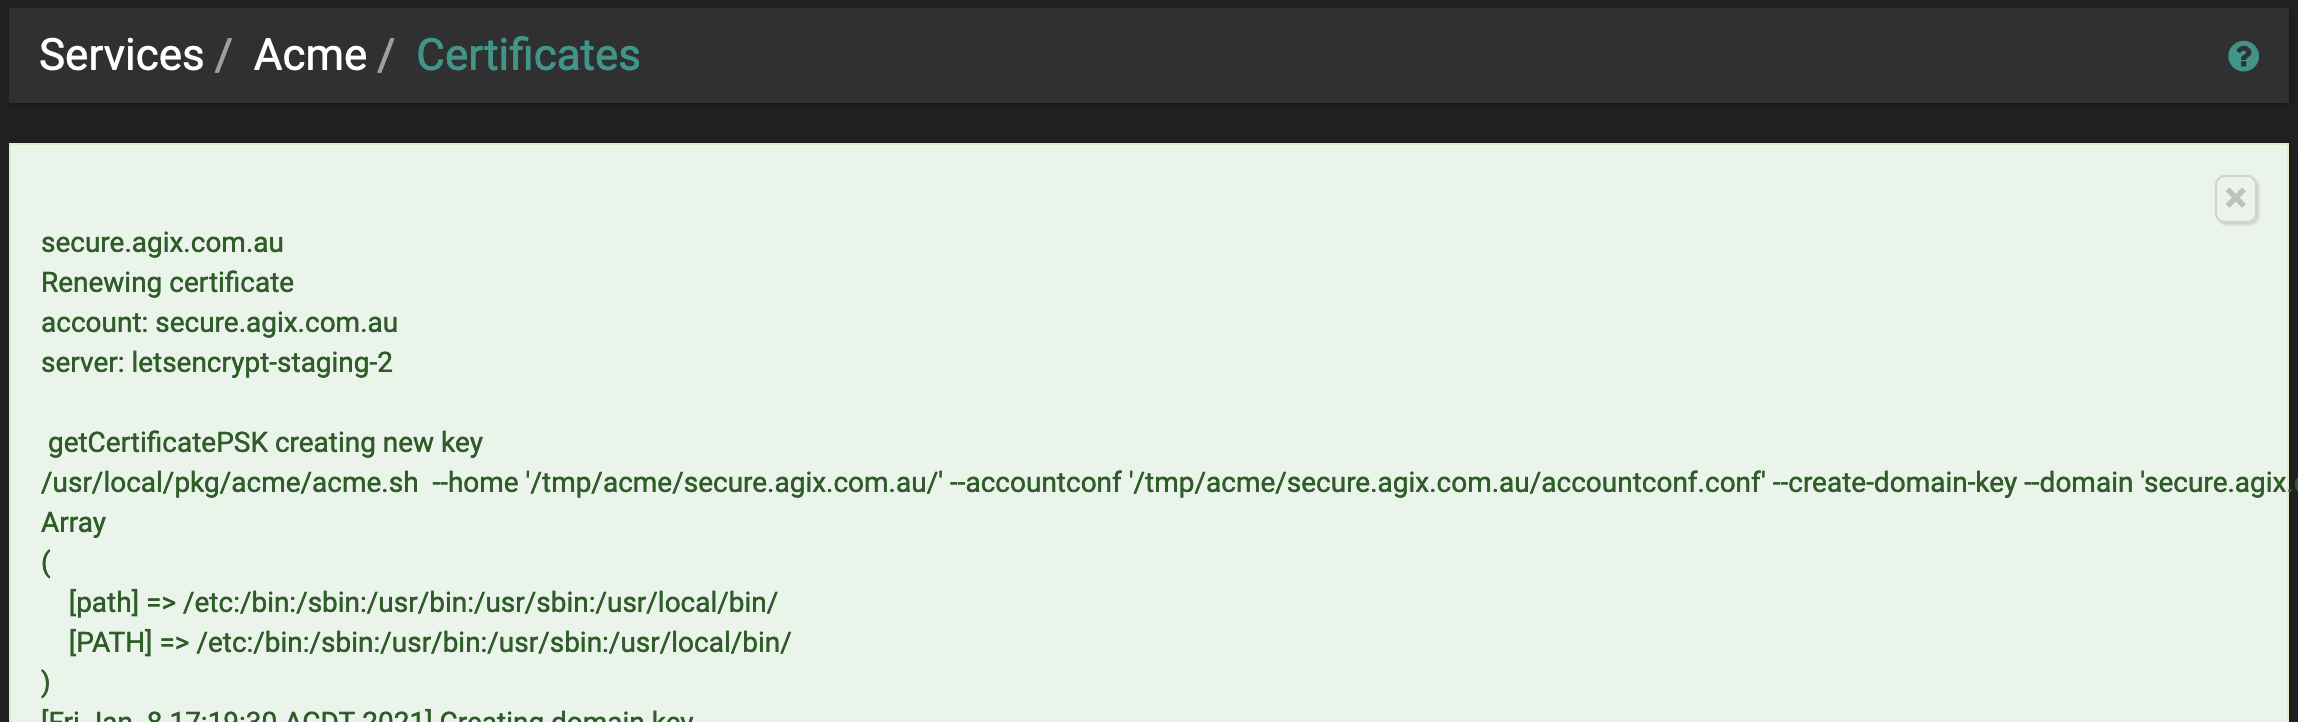
From the above output, pay attention to the following:
[Fri Jan 8 17:19:38 ACDT 2021] Add the following TXT record:[Fri Jan 8 17:19:38 ACDT 2021] Domain: ‘_acme-challenge.secure.agix.com.au’
[Fri Jan 8 17:19:38 ACDT 2021] TXT value: ‘lkjHJGfKUyFgJH78YUiJLHkgfRTfKUYJHiH’
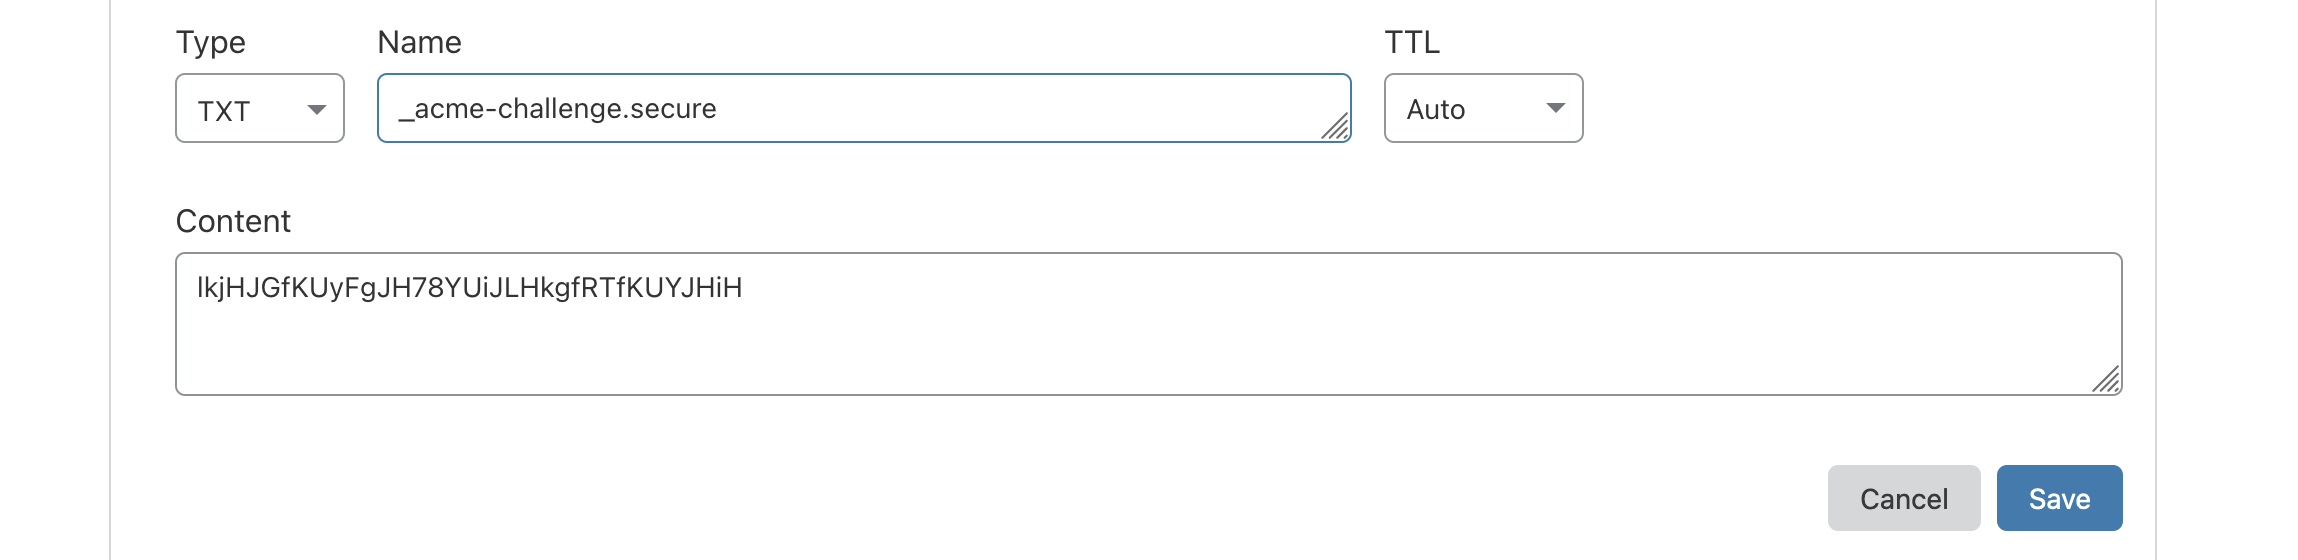
Your “TXT Value” will be different, but whatever it is, you need to add that as a new TXT DNS record for the appropriate domain. For example, using “cloudflare.com” as my DNS hoster, i have the following:
Now return to your LetsEncrypt settings. This time, instead of clicking the “Issue” button, click the “Renew” button. If you get a “Success” messing (within new “green” text).
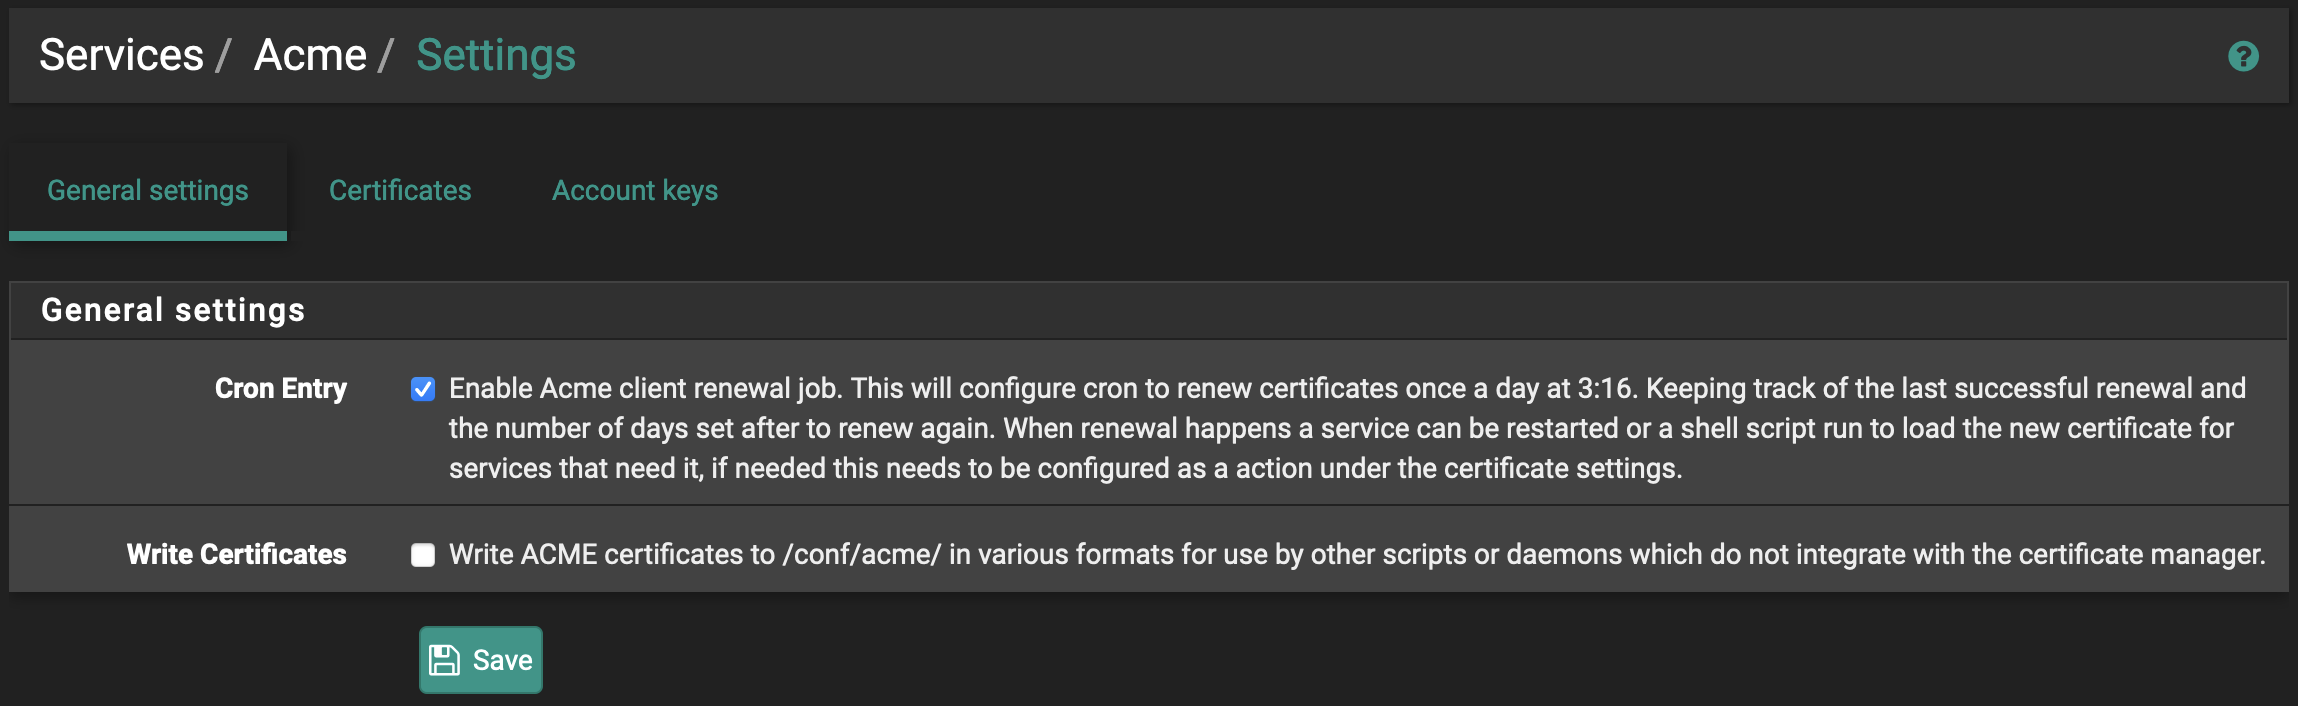
Make sure to set a scheduled task to allow LetsEncrypt to update the certificate automatically. In the following example in the “General Settings” tab, check the box “Cron Entry” and click the “Save” button.
Now we move onto HAProxy. Install it as you did LetsEncrypt (Acme):

Now go to “Services”, “HAProxy” and go to the “Settings” tab.

Make one change here. Set the value of “Max SSL …” to “2048”. Then click the “Save” button.

Go to the “Backend” tab. The only required settings are those you can see in my examples (two screenshots) below. There are plenty of options in this page so have a good look. For example, if you had multiple backend servers (web servers), you might want to load balance between them. This is where you’d set that.
Note: My internal web server is listening on port “5000” but your server will likely be listening on port “80” or possibly port “443” if you’re doing end-to-end encryption. But that’s a topic for another day. The important point is that you should change the port in the form below to be the port your internal web server is listening on.
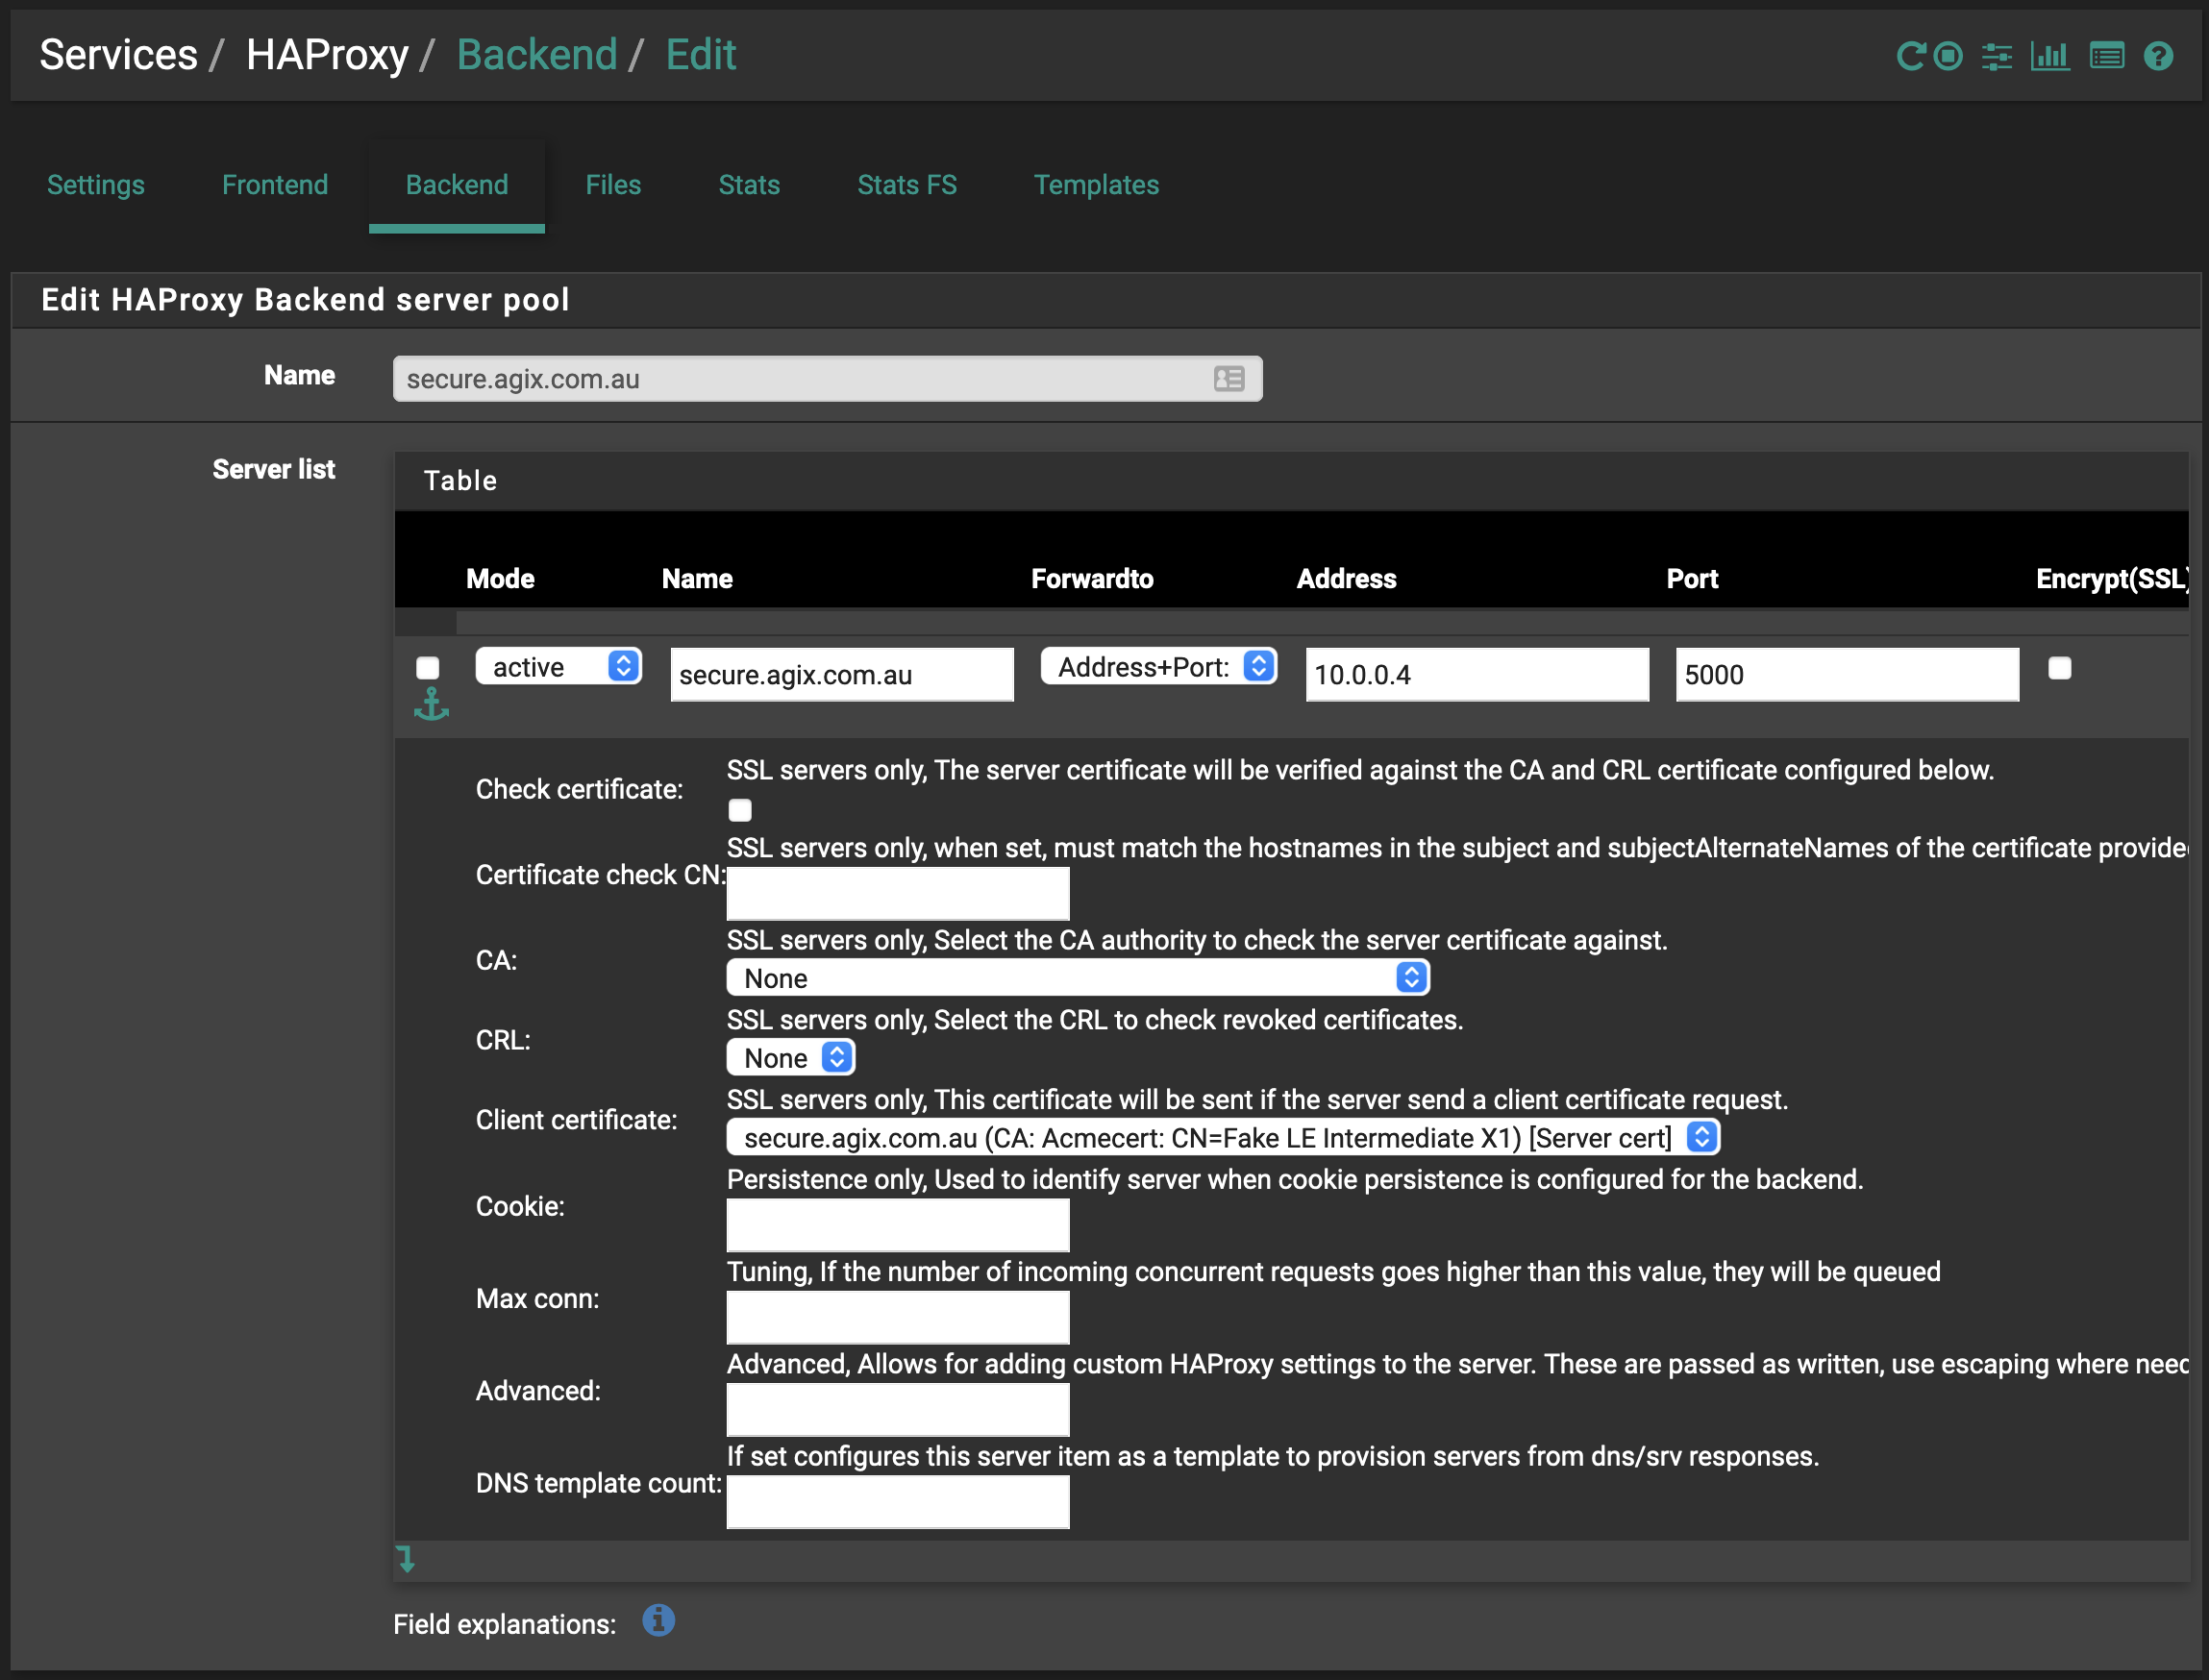
HAProxy needs a way to determine the status (up or down) of the internal web server. I’ve turned that off for my example but you can use one of several options. Have a look and see which is best for you.

Click the “Save” and “Apply Changes” buttons.
Go to the “Frontend” tab. The only settings to ensure are correct here (in the first screenshot) are “name”, “description”, “status”, “listen address”, “port” and “SSL offloading”. The other settings should be ok but again, have a look around to see how it fits for you.
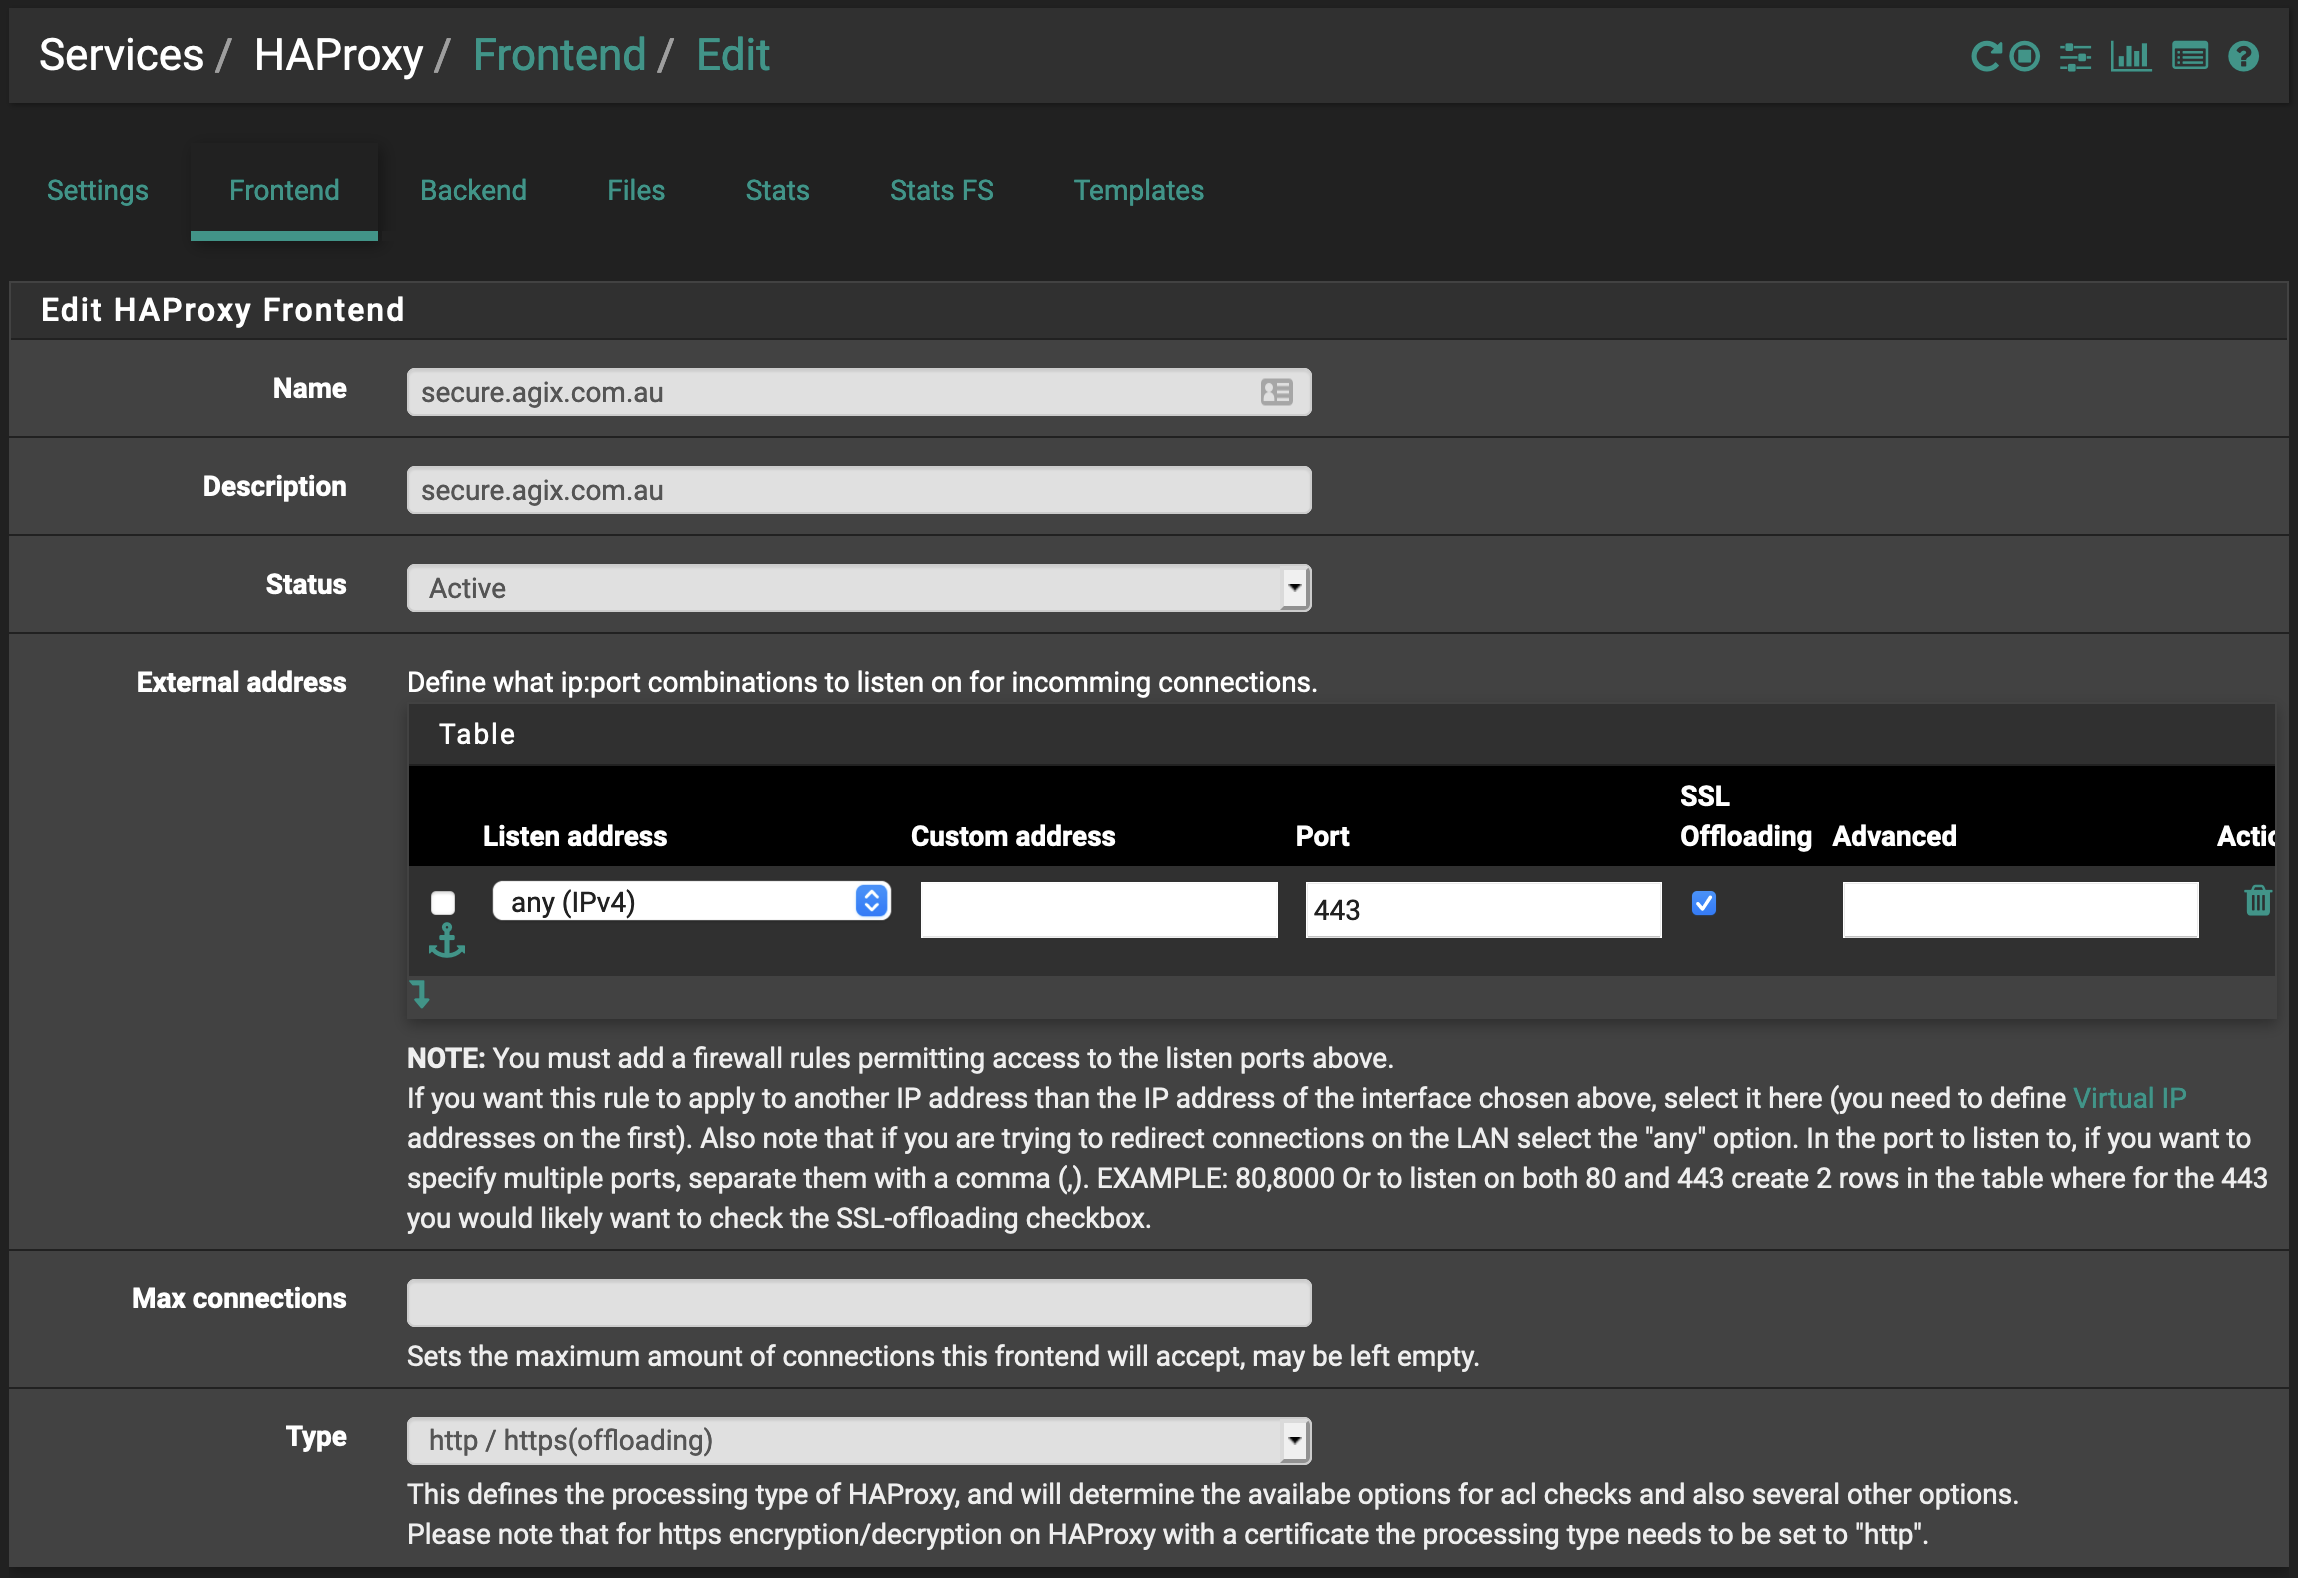
Continue down to set the “default backend”. Set it to the “backend” you previously created.

Continue down further and set the Certificate to use.

Click the “Save” and “Apply Changes” buttons.
Finally we need to allow traffic through the firewall. On the “WAN” interface (in my example), make sure to allow inbound on the WAN. Obviously you need to set this according to your situation (be careful). Here’s my example:

Possible issue are:
- Make sure not to run the pfSense portal on the same port/interface as you’re trying to listen on for HAProxy. TIP: change the pfSense web portal port for “HTTPS” to something like “8443”.
- If you make a mistake with certificates, you can always re “Issue” and re “renew” them. But consider deleting them from the “Certificate” manage within pfSense first.
